Assembly Instructions: Southport Bed
BEFORE WE GET STARTED
General notes:
- Two-person job
- If bed is being assembled on a hard surface, use a blanket or something soft to lay out the pieces.
- Work with clean hands.
Tools:
- Rubber Mallet + padding
- Two support blocks/spacers (Approximately 6")
Number of Pieces:
- Footboard (Southport #1) - Qty: 1
- Headboard (Southport #2) - Qty: 1
- Left Rail (Southport #3) - Qty: 1
- Right Rail (Southport #4) - Qty: 1
- Slats (Southport #5) - Qty: 4
- Support Boards (No Label) - Qty: 2
Illustration of Pieces

Video of Assembly Process
LET'S DO THIS!
Step 1: Attach the left and right rails to the headboard.
- Working together with another person, locate the headboard. Labeled 'Southport #2'.
- Place the headboard in the area you are going to install the bed. Have on person steady it.
- Next, place both supportive blocks (not included, approximately 6" high) three or four feet from the headboard, where the left and right bed rails will go. Use something to pad the top edge of the supportive blocks to avoid damaging the bottom of the rail.
- Locate the left siderail labeled 'Southport #1'. Line it up with the notches on the headboard with the slots for the wooden slats facing in.
- Slide the left side rail into the notches, applying pressure to the back side bottom area of the headboard to keep it from sliding away as the notches are latched.
- When the rail is attached to the headboard, gently use the rubber mallet to secure it with 3 or 4 firm strikes. Final secure will take place after all four points are secured.
- Be sure to use the wooden block proved with the padding side facing down to avoid damaging the rail with the mallet.
- Leaving the left side rail propped up with the block for support, locate the right side rail labeled 'Southport #2' and repeat the process.

Step 2: Connect the side rails to the footboard.
- Locate the footboard. It is labeled 'Southport #1'.
- Working together with the other person, move the footboard to the bottom edge of the side rails. Make sure the female slot of the footboard is facing the male metal hooked notch of the rail.
- Working one rail at a time - line up the maile and female connector. Then lift the rail up slightly. Slide the rail towards the footboard while applying pressure to the bottom edge of the footboard so that it doesn't slide away and lock the two pieces together.
- Give the side rail 3 or 4 firm strikes with the rubber mallet, using the wooden block and padding as protection. Remove the support block.
- Repeat this with the remaining side rail to complete connecting the left and right side rails to the head and footboard.
- Once all four points have been latched together give the four corners of the bed a final pass with the rubber mallet and protective block and padding. Do not hammer into the rail without something to absorb the blow to avoid damaging the wood.

Step 3: Place the wooden slats in the frame
- Locate the wooden slats. They are labeled 'Southport #5'.
- Place the 4 wooden slats, one at a time, in the slots notched into the siderail so that the top side is flat, and the bottom side has the legs touching the ground.

Step 4: Place the support boards on the wooden slats
- After the slats have been placed within the frame, find your 2 support boards.
- Place the support board with the handle on the left edge of the board on the left side of the bed.
- Place the support board with the handle on the right side of the board on the right side of the bed.
- Working one at a time, lift the support board up by the handle. Place the opposite edge near the center of the slats first, rest it upon the slats, then gently lower the handle side of the board to the slats.
- Adjust the placement of the board so that it is flush to the rail.
- Repeat this process with the other support board.
- At the end of the process, the bed should look like the illustration below.

Step 5: Put the vertical canopy arms into the footboard.
- Identify the vertical footboard canopy arms. They are the longer of the vertical canopy pieces. They will have a female hole in the base.
- Identify the inner edge of the vertical canopy arm. The inner edge will have two female slots. The outer edge will be smooth.
- Slide each vertical arm into place on the footboard.
- Refer to the illustration above for identification.
- At the end of Step 5, the bed should look like the illustration below.

ASSEMBLY IS DONE!
Step 6: Final touches!
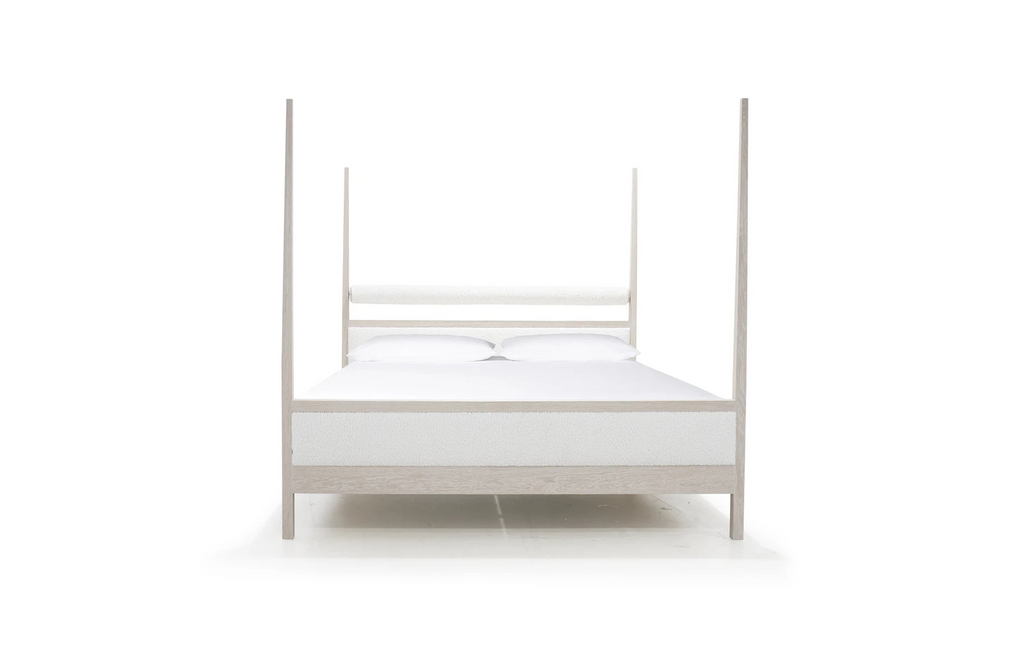
- Place your mattress directly on the support boards.
- Dress it up with your bedding and pillows.
- Take a picture so that the world can back in your glory.
- If you are a white glove service or installing for a client - send us a pic of the final installation for the records and final confirmation of a job well done! - info@muskokaliving.com .

